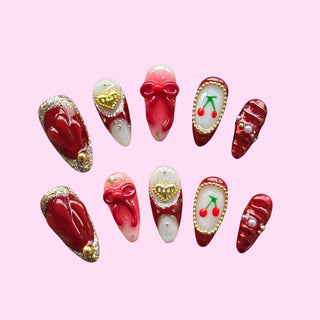
Applying press on nails correctly ensures they look natural and last longer. Here’s a simple, step-by-step guide:
What You’ll Need:
- Press-on nails (with adhesive tabs or nail glue)
- Nail file and buffer
- Cuticle pusher
- Rubbing alcohol or nail polish remover
- Nail glue (if not using adhesive tabs)
- Cuticle oil (optional)
Step-by-Step Guide
-
Prep Your Natural Nails:
- Clean: Wash your hands thoroughly and remove any old polish.
- Shape: File your natural nails to your desired shape and lightly buff the surface. This helps the press-ons adhere better.
- Push Back Cuticles: Use a cuticle pusher to gently push back your cuticles for a clean, natural look.
- Dehydrate: Wipe your nails with rubbing alcohol or nail polish remover to remove oils. This step is key for long-lasting wear.
-
Size the Press Ons:
- Match each press on nail to the correct finger. If a nail doesn’t fit perfectly, file the sides for a better fit. It’s better to choose a slightly smaller size than a larger one to avoid lifting at the edges.
-
Apply the Nails:
-
With Adhesive Tabs:
Peel off the backing of the adhesive tab, apply it to your natural nail, press it down firmly, then apply the press-on nail on top. -
With Nail Glue:
Apply a thin layer of glue to both your natural nail and the back of the press-on. Carefully place the press-on at the base of your nail near the cuticle (but not on it) and press down firmly for 10–15 seconds.
-
With Adhesive Tabs:
-
Finishing Touches:
- File the tips gently if needed to smooth edges.
- Apply cuticle oil around your nails for a polished, salon-like finish.
Tips for Long-Lasting Wear:
- Avoid water for at least an hour after application to let the adhesive set properly.
- Reapply glue to any nails that start lifting to prevent them from popping off.
- Be gentle with your hands—wear gloves when cleaning or doing dishes.
