
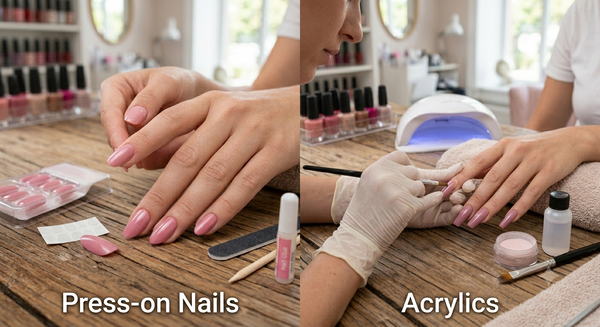
Press On Nails vs Acrylics: Cost, Damage & Wear Time Compared (Australia)
If you've ever stood in front of the mirror deciding between booking an acrylic appoint...
Read more ›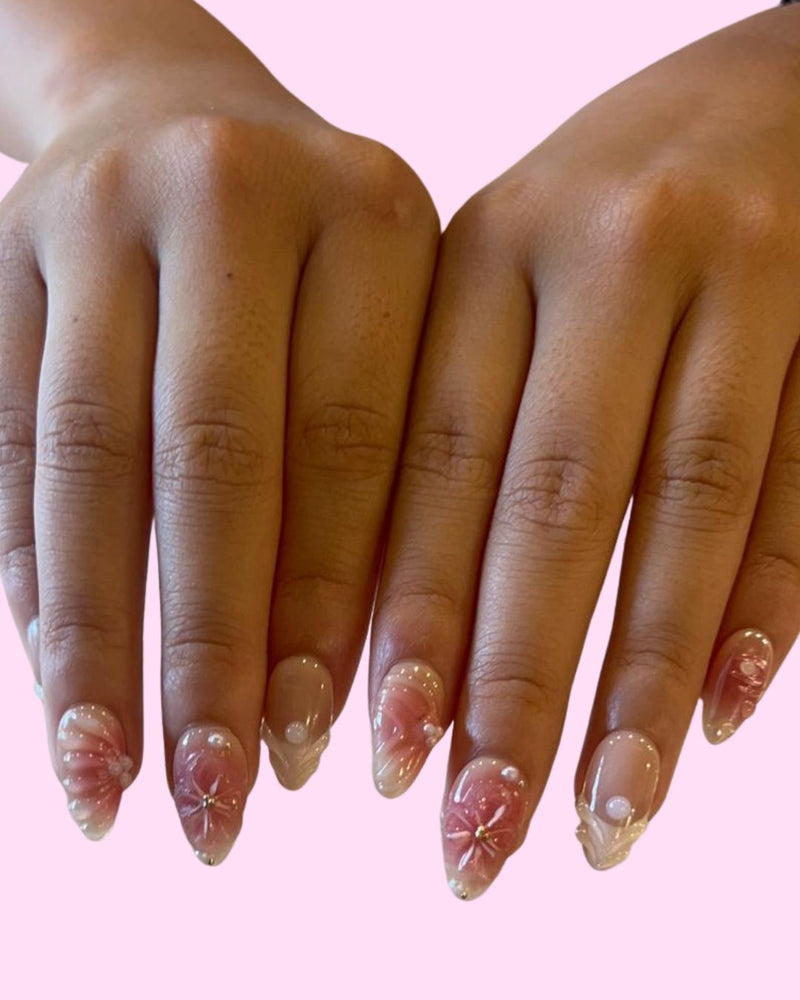
Let us know your email address
You're in! 🎉
Check your inbox for your 10% off code.
Press on nails have come a long way. Applied properly, a quality set looks like a fresh salon manicure and stays put for weeks — no drills, no acetone, no two-hour appointment. The whole process takes about ten minutes once you've done it once. This guide walks you through every step, plus the small details that make the difference between a set that lifts in two days and one that lasts up to four weeks.
Before you start, set out your press on nails, the nail glue or adhesive tabs, the prep pad and file from your kit, and a cuticle stick. Work somewhere with good light and a clean, dry surface. Give yourself ten uninterrupted minutes — rushing is the main reason nails lift early.
Preparation is the step most people skip, and it's the one that decides how long your nails last. Oil is the enemy of a strong bond.
Start by removing any old polish. Gently buff the surface of each natural nail with the file so it's slightly matte rather than shiny — this gives the glue something to grip. Push back your cuticles for a clean edge, then wipe each nail with the alcohol prep pad to strip away oil and moisture. Once you've wiped them, don't touch the nail surface again with your fingers.
Lay out the press ons and match each one to the right finger before you glue anything. Order to the widest part of your nail — if a press on is slightly too wide you can file it down, but you can't add width back.
For long wear, use nail glue. Apply a generous but not flooding amount to your natural nail (a thin layer on the back of the press on as well helps). For short-term wear — a single event or a weekend — use the adhesive tabs instead; they're gentler and come off easily.
Keep glue off your skin and cuticles. If you do get some on your skin, wipe it before it sets.
Line the press on up with your cuticle, tilt it down onto the nail, and press firmly. Hold each nail for 10–15 seconds — this pushes out any air bubbles and sets the bond. Do one nail at a time and resist the urge to rush the hold; those few extra seconds are what keep the nail on for weeks.
Once all ten are on, avoid water for the first hour so the glue can fully cure. After that, you're good to go.
It comes down to how long you want them on:
Both are damage-free when used correctly. Many people keep both on hand and choose based on the occasion.
A few habits go a long way:
Cared for this way, a set can stay flawless for up to four weeks per application.
Never force or peel a set off — that's what damages natural nails. Instead, soak your nails in warm, soapy water for 5–10 minutes to soften the bond. Then gently rock each nail side to side and ease it off with a cuticle stick. If it resists, soak a little longer. Take your time and your natural nails stay healthy and intact.
This is where press ons really pay for themselves. After removal, clean the old glue off the back of each nail with a little acetone, let them dry fully, and store them in their original box away from sunlight. With proper care, a single set is reusable for up to 20 weeks of total wear — so you're building a little rotating wardrobe of manicures, not buying something disposable.
That's all there is to it — prep, glue, press, and you've got salon-quality nails in about ten minutes. If you're new to press ons, our best-selling sets are the easiest place to start, and a classic French Elegance short almond set is hard to get wrong. Not sure of your size? Check the size guide before you order.
If you've ever stood in front of the mirror deciding between booking an acrylic appoint...
Read more ›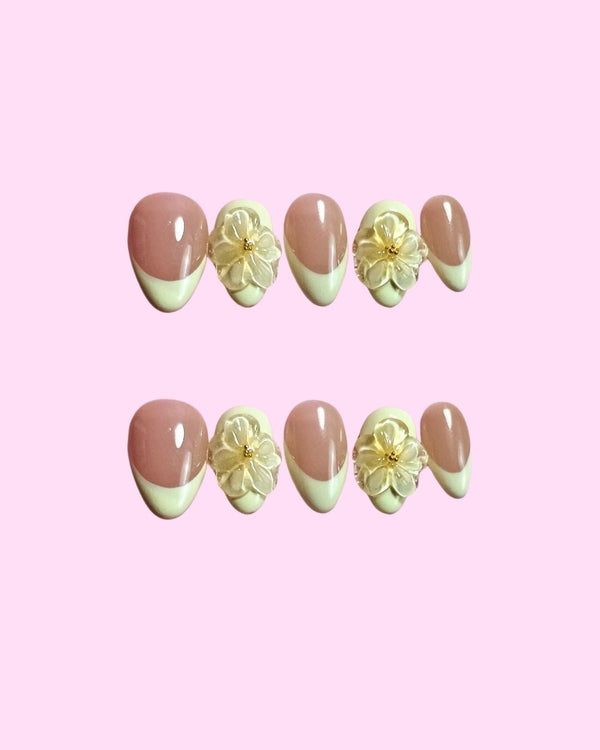
Spring in Australia is the season of fresh starts, garden parties and warmer days — and...
Read more ›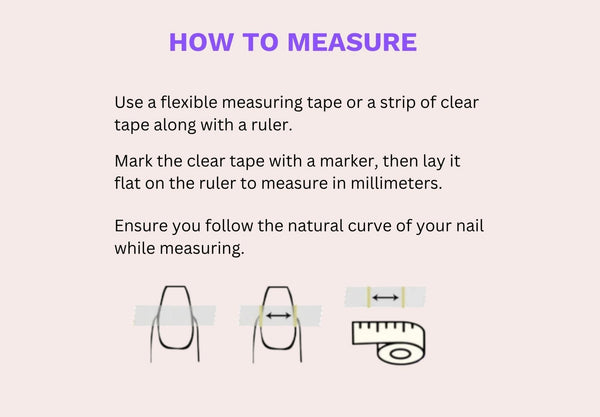
The single biggest reason press on nails disappoint people is a poor fit. Nails that ov...
Read more ›