
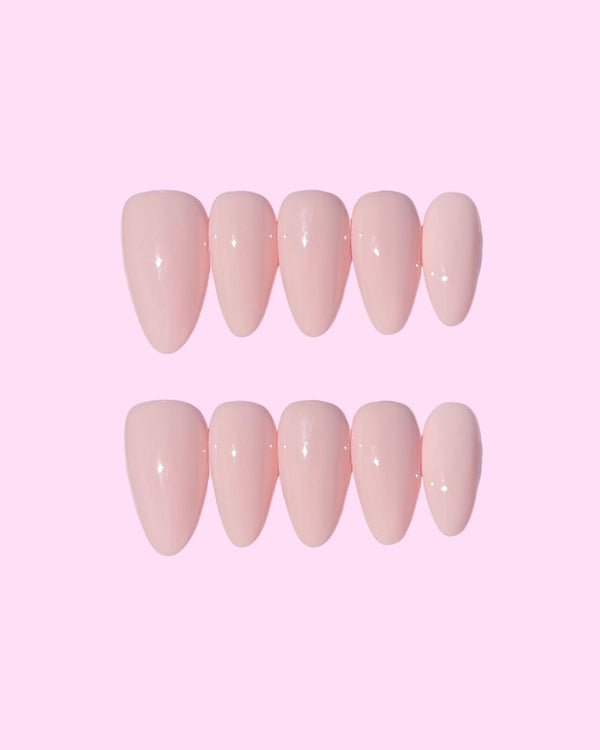
Elegant Press On Nails for Mature Hands
The most elegant nails on any hand are well-shaped, not too long, and in a shade that f...
Read more ›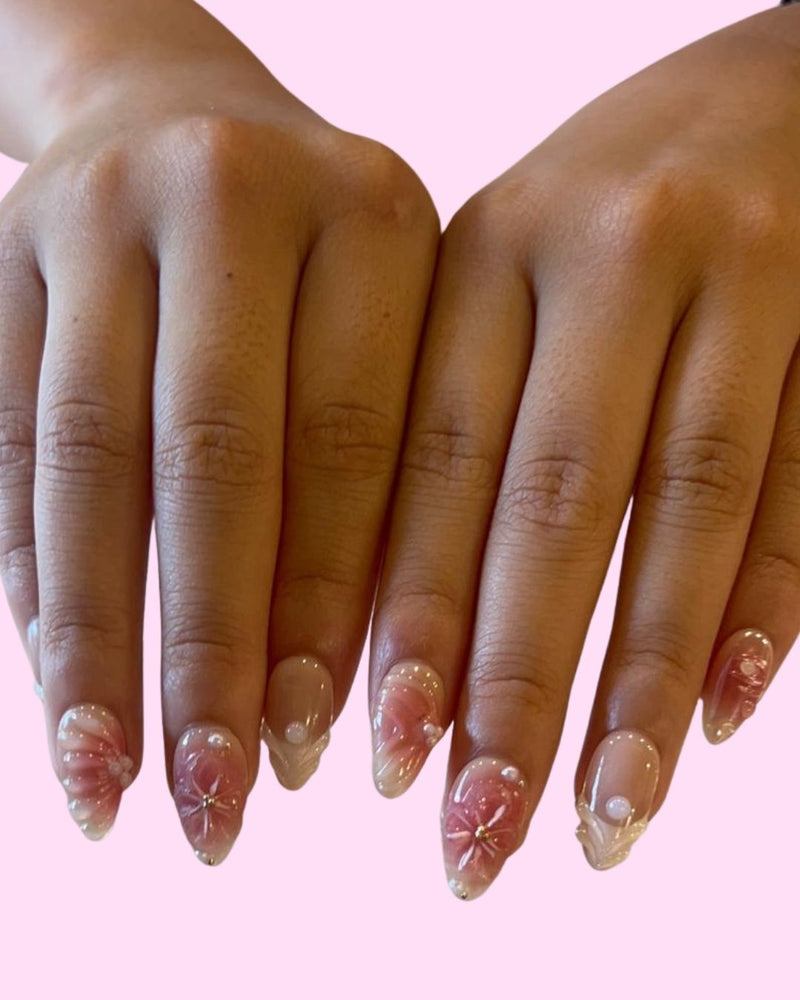
Let us know your email address
You're in! 🎉
Check your inbox for your 10% off code.


Can you do BIAB at home? Yes, technically. DIY builder gel kits with a small LED lamp are easy to buy, and plenty of people get a passable result after a few practice rounds. The harder questions are whether you will get it to cure properly, whether you can take it off without thinning your nails, and whether the allergy risk is worth it for a manicure you could get in a salon or fake convincingly with press-ons.
This guide walks through what a home BIAB application actually involves, what the lamp is doing, where people usually go wrong, and how it compares with the other at-home option, press-on nails. We sell press-ons, so we have a view, but we have tried to give you the useful information either way.
BIAB stands for Builder In A Bottle, a product name from the UK brand The Gel Bottle. The term is now used loosely for any soak-off builder gel that comes in a bottle, is brushed onto the nail and is cured under a UV or LED lamp. It is thicker than ordinary gel polish, which lets a nail tech build a little structure and strength over your natural nail. It is designed for overlays on natural nails and modest length, not for long extensions.
If you want the full background first, read our explainer on what BIAB nails are. The short version: in a salon it typically wears for around three to four weeks, it is maintained with infills, and removal is more involved than regular gel polish.
Most home kits contain some combination of the following:
What kits usually do not include is the skill, and that is where most of the difference between a salon set and a home set comes from. Building an even apex on your non-dominant hand is genuinely hard.
Every brand has its own instructions and cure times, and you should follow them over anything generic. The overall process looks like this.
Push back the cuticles and gently remove any dead cuticle tissue sitting on the nail plate. Shape the free edge. Lightly buff the surface to remove shine, without thinning the nail. Wipe with a dehydrator or cleanser so there is no oil or dust left. Poor prep is the number one reason home sets lift.
Brush on a very thin layer, keeping it a hair's width away from the cuticle and side walls. Cure for the time the brand states. Thin is the rule here: thick base coats cure unevenly and are more likely to flood onto skin.
This is the tricky part. Place a bead of builder gel in the centre of the nail and let it self-level, guiding it with the brush so the highest point sits roughly a third of the way down from the cuticle. Many people turn the hand upside down for a few seconds so gravity helps shape the curve. Cure one or two nails at a time so the gel does not slide.
If the product leaves a sticky inhibition layer, wipe it off with the cleanser. File the shape and smooth any lumps.
Apply top coat, cap the free edge, cure, and finish with cuticle oil once everything is fully cured.
A first attempt often takes two hours or more. A salon appointment for the same thing is commonly 60 to 90 minutes, done on both hands by someone who does it every day.
Gel products harden because ingredients called photoinitiators react to particular wavelengths of light. If the lamp does not put out the right wavelengths at enough strength, the gel can look and feel set on the surface while still being partly uncured underneath. That is the single most important thing to understand about DIY builder gel.
Under-cured gel is the bigger risk. It tends to lift, peel or feel slightly soft, and it leaves uncured product on and around your nails. Uncured product touching skin is the main route to developing an allergy (more on that below). Signs include a tacky surface after the top coat, gel that dents with a fingernail, or a set that lifts within a few days.
As gel cures it gives off heat. With thick layers, or a strong lamp, you can feel a sudden burning sensation called a heat spike. Thinner layers and lamps with a low-power start mode help.
Leaving a nail in a matched lamp for a bit longer than needed is usually not the problem people fear. Where trouble does show up is with repeated heat spikes, or with gel that has become brittle from being applied too thickly and cured hard. The safer habit is simply to follow the manufacturer's times with the lamp they specify.
Many gel products, including builder gels, contain methacrylate and acrylate ingredients, with HEMA being the best known. When uncured product touches skin repeatedly, some people develop allergic contact dermatitis. Symptoms can include itching, redness, swelling or blistering around the nails and fingertips, and sometimes elsewhere, such as the eyelids or face, from touching them.
The concern with home use is that people new to gel are more likely to get product on their cuticles and skin, and more likely to under-cure. Sensitisation can be permanent, which may affect your ability to have gel or acrylic nails in future, and in some cases certain dental and medical materials that use similar ingredients. The British Association of Dermatologists has publicly warned about acrylate allergies linked to gel nails, including DIY kits.
Sensible precautions:
We cover this in more depth in Is BIAB bad for your nails?
Getting builder gel off is harder than putting it on. Because it is thicker and tougher than gel polish, soaking takes longer and needs more filing first. Salons usually file down most of the product with an e-file and then either soak the rest or leave a thin base for the next infill.
At home, the realistic approach is:
The most common damage from DIY BIAB is not the gel itself but impatient removal: peeling or prising it off, which takes layers of natural nail with it. Home e-files are available, but using one on your own nails without training is an easy way to cause heat damage or thin spots.
For a sense of how long a well-applied set should last and when to remove it, see how long BIAB lasts.
| DIY builder gel | Salon BIAB | Press-on nails | |
|---|---|---|---|
| Upfront cost | Kit plus lamp, then refills | Commonly very roughly $55 to $90+ for a new set; infills a little less | From $24.99 per Aurelle set, reusable with care |
| Time to apply | Often 1.5 to 2+ hours while learning | About 60 to 90 minutes | About 5 minutes |
| Lamp needed | Yes | Yes | No, they are glued or taped on |
| Strengthens natural nails | Can add structure if done well | Yes, that is the point of it | No |
| Allergy exposure | Higher if product touches skin or is under-cured | Lower with a careful tech, not zero | No gel exposure; nail glue can irritate some people |
| Wear time | Varies a lot with skill | Typically 3 to 4 weeks | Up to 4 weeks with glue, shorter with tabs |
| Removal | Filing plus long acetone soak | E-file and/or soak by a tech | Warm soapy water and cuticle oil soak |
DIY BIAB makes sense if you enjoy the craft, have patience, are willing to practise on a few sets, and will be careful about keeping product off your skin.
It is a poor fit if you have already reacted to gel or acrylic products, if you tend to pick or peel your nails, or if what you mainly want is the look: that glossy, natural, slightly rounded finish. For the look alone, there are easier routes.
If you want the actual strengthening benefit of builder gel, a good salon is still the best option. For a breakdown of where it sits against other systems, read BIAB vs gel vs acrylic, and for budgeting, how much BIAB nails cost in Australia.
Our BIAB-style press-on nails are handmade press-ons with a glossy finish modelled on the builder gel look. To be clear: they are not made of builder gel and they will not strengthen your natural nails. They sit on top of your nails and are attached with nail glue or adhesive tabs, which is why no lamp is involved.
What they do offer is the soft, short, polished look in about 5 minutes, in shades like Milky Pink and Baby Blue, in Short Square, Short Almond and Short Oval. With careful removal they can be reused. If you are new to them, start with how to apply press-on nails.
No. Builder gel only hardens under UV or LED light, so a compatible lamp is essential. Anything that sets without a lamp is a different product.
It can be done safely, but the risks are higher than in a salon, mainly allergy from uncured gel touching skin and damage from rushed removal. Keep product off skin, follow cure times and stop if you get a reaction.
Ideally the one recommended by the gel's manufacturer, or a lamp with a matching wavelength range and enough power. A mismatched lamp is a common cause of under-curing.
Warning signs include a tacky surface after the final cure, gel that dents or feels soft, early lifting, or itching around the nails. If in doubt, cure again with the correct lamp.
File off the top coat and most of the bulk, then soak in acetone under foil, checking every 10 to 15 minutes. Only push off product that has softened. Never peel or prise it off.
Over many sets it can be, once you have paid for the kit and lamp. Factor in your time, the learning curve and refills before deciding.
No. BIAB is a builder gel applied to and cured on your natural nail. Press-ons are pre-made nails glued or taped on. Ours mimic the BIAB finish but do not contain builder gel.
If you want the glossy builder gel look without a lamp, an acetone soak or a long learning curve, our handmade press-ons are a simple place to start.
Prefer the real thing? Use this guide to ask your salon the right questions about lamps, HEMA-free options and removal.
The most elegant nails on any hand are well-shaped, not too long, and in a shade that f...
Read more ›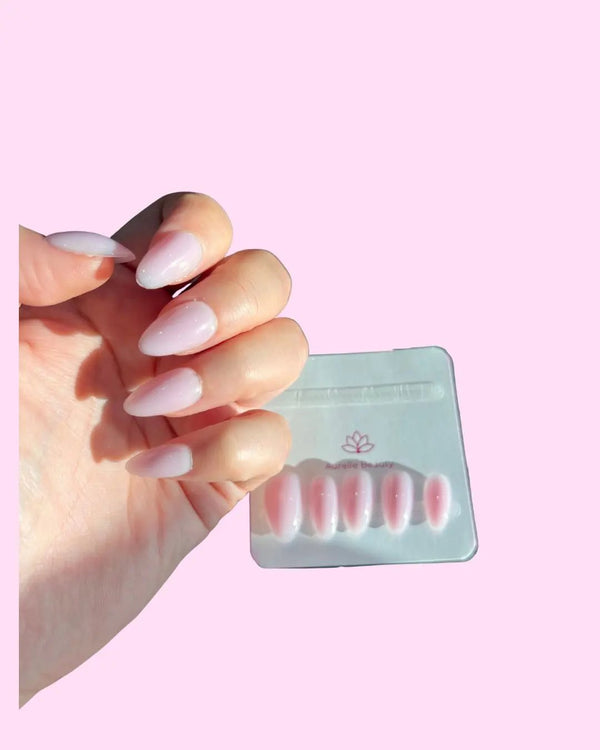
What BIAB nails typically cost in Australian salons, infill vs new set, yearly totals a...
Read more ›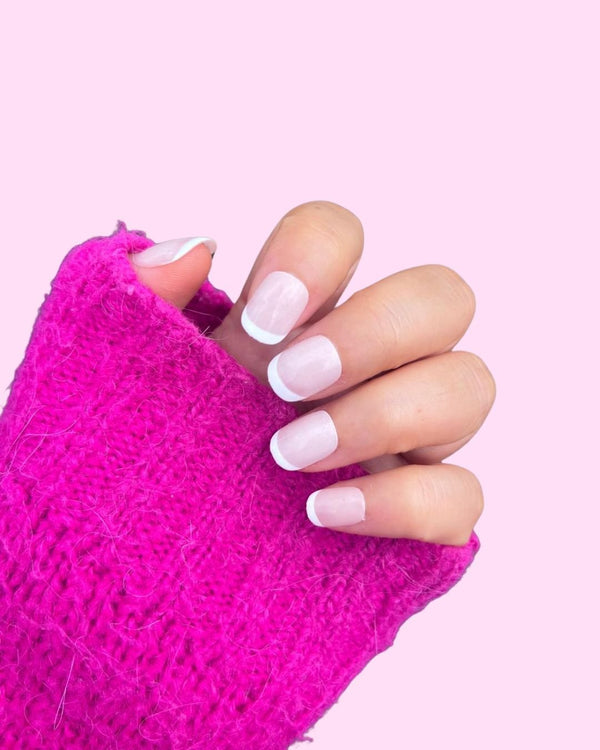
Good work nails pass three tests: they look tidy in a meeting, they don't slow your typ...
Read more ›