
Can You Paint Over Press On Nails? Yes
Press ons take regular nail polish, so you can change a colour, add a French tip or tou...
Read more ›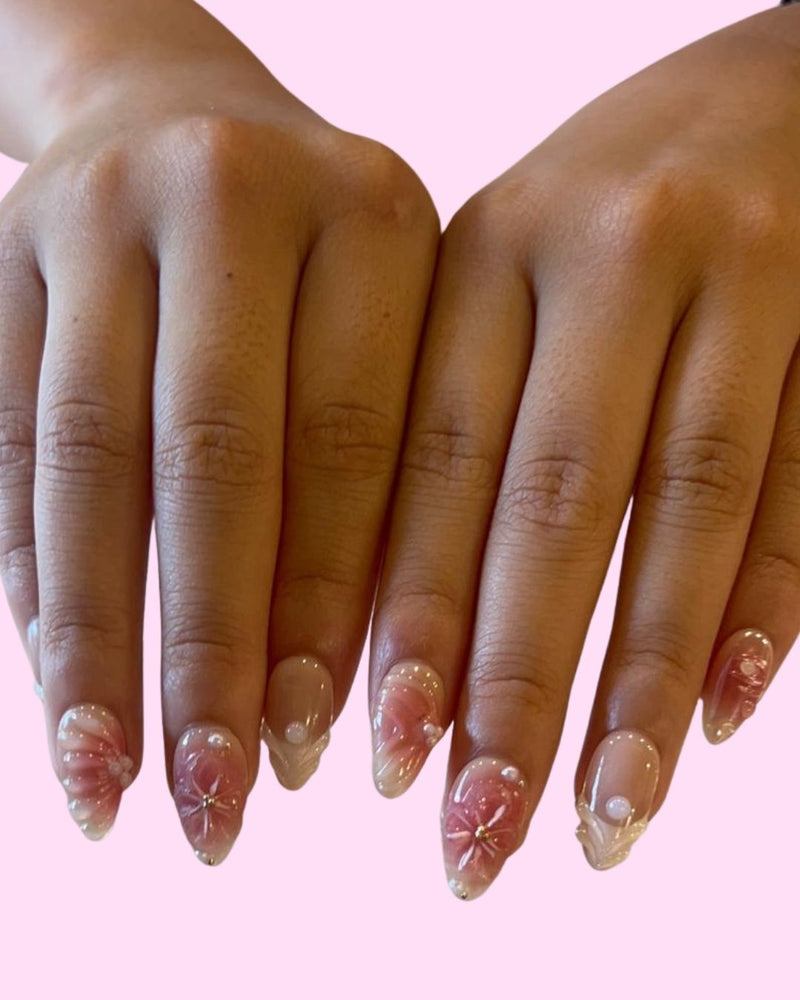
Let us know your email address
You're in! 🎉
Check your inbox for your 10% off code.


Learning how to do French tips at home is mostly about choosing the right method for your hands and your patience level. A neat French manicure looks simple, but the clean, even smile line is the part that trips most people up, especially on your dominant hand.
This tutorial walks through everything you need: the tools, the prep, four tried-and-tested methods (tape, guide stickers, a silicone stamp and a freehand brush), the mistakes that ruin most DIY French tips, and how to fix them. At the end we cover the easier route, pre-made French press-on nails, for days when you would rather not paint at all. If you want a primer on the different French styles first, read our French tip press-on nails guide.
You do not need a professional kit, but a few basics make a big difference.
If you are using gel polish rather than regular polish, you will also need a UV/LED lamp and a gel top coat. The techniques below work with both, though gel gives you more time because nothing sets until you cure it.
A French tip highlights the free edge, so shape matters more than with a plain colour. Uneven lengths or lopsided tips are very obvious once they are painted white.
Apply one thin layer of base coat and let it dry. Then apply your sheer pink, milky or nude colour. One or two thin coats is plenty. You want the nail to look healthy and even, not heavily coloured.
Let this dry properly before you go near the tips. With regular polish, give it at least 10 to 15 minutes, longer if you plan to use tape or stickers. Soft polish underneath is the main reason guides peel the base off with them. With gel, cure each layer as directed.
This is where the technique changes. Try one method first, and if it does not suit your hands, switch. Most people find one of these clicks quickly.
Tape is the cheapest option and gives you a crisp line, though it is usually a straight or gently curved one rather than a deep smile.
Best for: square and squoval nails, and anyone who wants a clean straight line on a budget.
Guide stickers are pre-cut adhesive strips with a curved edge. They are the easiest way for beginners to get a consistent smile line on every nail.
Best for: beginners, oval and almond shapes, and anyone who struggles to paint with their non-dominant hand.
The silicone stamp method went viral for good reason. Pressing your nail into a soft, squishy stamper wraps the polish around the tip in a natural curve.
Best for: people who want a fast result and do not mind some clean-up. It works especially well with gel polish because you can clean up before curing.
Freehand gives you the most control over tip depth and curve, and once you have practised, it is often the fastest method. It does take some practice, though.
Best for: anyone willing to practise, and people who want a custom tip depth or a very thin "micro French".
| Method | Difficulty | Smile line | Speed | Main drawback |
|---|---|---|---|---|
| Tape | Easy | Straight or gentle curve | Medium | Can lift soft base polish |
| Guide stickers | Easiest | Consistent curve | Medium | One curve may not suit every nail width |
| Silicone stamp | Easy to moderate | Natural curve | Fast | Messy; needs careful clean-up |
| Freehand brush | Hardest | Fully custom | Fast once practised | Takes practice, especially on your dominant hand |
| French press-ons | Easy | Already done | About 5 minutes total | Needs good sizing and prep to stay on |
Clean-up is what separates a salon-looking French from a home one. Dip a small flat brush in remover, blot it on a tissue and run it along the edges of the white and around the cuticle. Wipe the brush often.
Once the white is dry, apply a glossy top coat over the whole nail, and run the brush along the very edge of the free edge to cap it. Capping helps prevent chips at the tip, which is where a French wears first. With gel, cure as directed and wipe off any sticky layer if your top coat leaves one.
If you want the softer, blurred look that is popular right now, apply a coat of your sheer pink or milky base over the dried white tips before your top coat. It softens the contrast and creates a milky French effect. Our article on milky French and BIAB French nails explains the trend.
Usually caused by a thin, low-pigment white or by applying a thick coat that drags. Use two thin coats of a well-pigmented white, letting each dry briefly.
This often comes from uneven nail lengths rather than poor painting. File everything to the same length first. When painting, look at your hand from a distance after every couple of nails to check the tips match.
A deep white band makes nails look shorter. On short nails, keep the tip thin, roughly the width of the natural free edge.
Your base was not dry enough. Wait longer, use a quick-dry top coat over the base first, or reduce the stickiness of the tape on your skin before applying.
Do not try to fix it with more white. Clean the line back with a brush dipped in remover, then redo only the edge.
It is tempting with a sheer look, but a base coat helps polish grip, improves wear and gives your tips a smoother surface to sit on. Do not skip it.
Gel polish gives a longer-lasting French at home, but it takes more equipment and care. The main thing to know is that uncured gel touching your skin can, with repeated exposure, lead to allergic contact dermatitis linked to ingredients such as HEMA. Keep product off your skin, cure fully and stop if you notice itching, redness or swelling around the nails. See a GP or dermatologist if a reaction develops. If you are curious about builder gel specifically, our explainer on what BIAB nails are covers how it differs from gel polish.
If you have tried a DIY French and found the second hand too hard, you are in good company. That is the main reason people switch to press-ons for this look. The shape, smile line and gloss are already done, and every nail matches.
Our White French Tips press-on nails come in Short Square, Short Almond and Short Oval, in sizes XS to L, for AUD $24.99 a set. They have a glossy BIAB-style finish, the thick, smooth shine that builder gel is known for, but they are press-on nails rather than builder gel, and they do not strengthen your natural nails. They need no lamp because they are glued or taped on.
Each set is handmade, takes about 5 minutes to apply and can last up to 4 weeks with glue. They are reusable with careful removal: soak in warm soapy water with a little cuticle oil and let them release, never lever them off. For step-by-step application, see how to apply press-on nails, and to compare short options, our short French tip nail ideas show each shape.
French tip guide stickers are the easiest for beginners because they give a consistent curve on every nail. If you want no painting at all, French press-on nails are easier still.
Let your base dry fully, place a strip of low-tack tape across the nail leaving the tip exposed, paint the white, then peel the tape away while the polish is still slightly wet.
Yes, it creates a natural curved tip quickly. It is messier than other methods, so plan to clean up the edges with a brush dipped in remover.
Anchor your painting hand on the table, rotate the finger you are painting rather than moving the brush, and use guide stickers until your non-dominant hand gets steadier.
Yes. Keep the white tip thin so it does not overwhelm the nail, and file all nails to the same length first.
With regular polish, commonly a few days to a week, depending on your top coat and how hard you are on your hands. Gel lasts longer. Press-ons can last up to 4 weeks with glue.
If you would rather skip the tape, stickers and clean-up, a French press-on set gives you matching tips on both hands in about 5 minutes.
Press ons take regular nail polish, so you can change a colour, add a French tip or tou...
Read more ›
Short square, short almond or short oval? How to choose the right short BIAB nail shape...
Read more ›Yes, you can shorten and reshape press ons. The safest way is to file rather than cut, ...
Read more ›